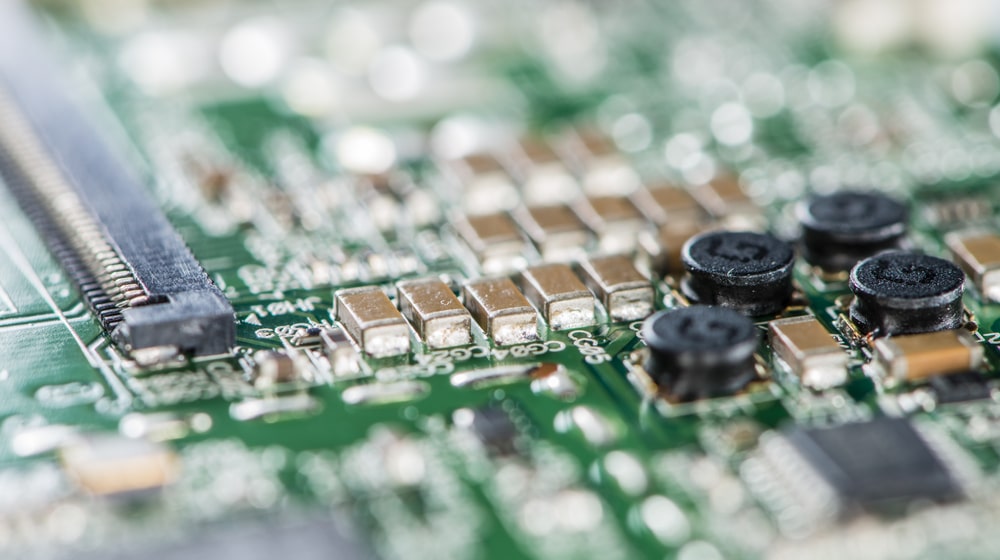
Industrial circuit boards are prone to accumulating dust, dirt, and even detrimental liquid splashes. They get dirty due to the open spaces in machinery casings. The working environment also significantly impacts the accumulation of dirt. Additionally, the residue from product manufacture can get into the circuit board.
The dirt accumulation not only affects the cleanliness and aesthetic of the machinery but also affects its functionality. You might find yourself having downtimes due to equipment failure primarily fueled by dirt accumulation on the circuit board. Dirty circuit boards can also lead to dendritic growth resulting from ionic residues.
Cleaning the circuit board is essential in preventing corrosion and developing adhesion issues. You must take proper caution when cleaning your circuit board. If you cannot handle it, it would be best to hire the services of a professional. Hastened and improper cleaning can lead to tampering with the circuit board connections. You can loosen vital parts and even misplace some. It is important to follow appropriate procedures when cleaning the industrial circuit board.
Choosing the Right Detergent
Choosing a suitable detergent should be top of your priority. Not all detergents can be used in cleaning the circuit board. There are special PCB solvent cleaners that you can readily find in stores. You can get flux removal aero sprays which do not need extra rinsing. There are also acid-based sprays that can effectively clean your PCB. Using baking soda and distilled water, you can make cleaning solutions for small-sized PCBs. Isopropyl alcohol is also often used in cleaning industrial circuit boards.
Cleaning Tools
Cleaning industrial circuit boards requires industrial-size cleaning tools that will save you time and clean the PCB effectively. some of the tools you may need include:
- Compressed air to remove the dust and also dry off the PCB after cleaning
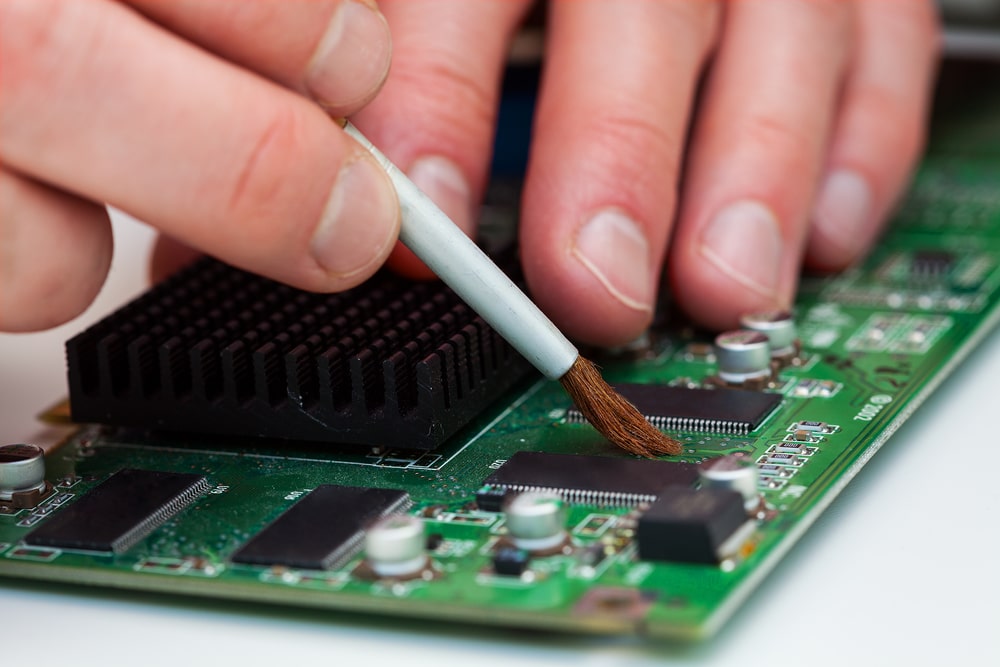
- PCB ultra-cleaning brushes to scrub off accumulated dirt carefully. You can use slimmer brushes that will enable you to access hidden places within the PCB.
PCB ultrasonic cleaners can also be used as a cleaning method that is safe and better for accessing areas where manual cleaning may not reach.
The Cleaning Process
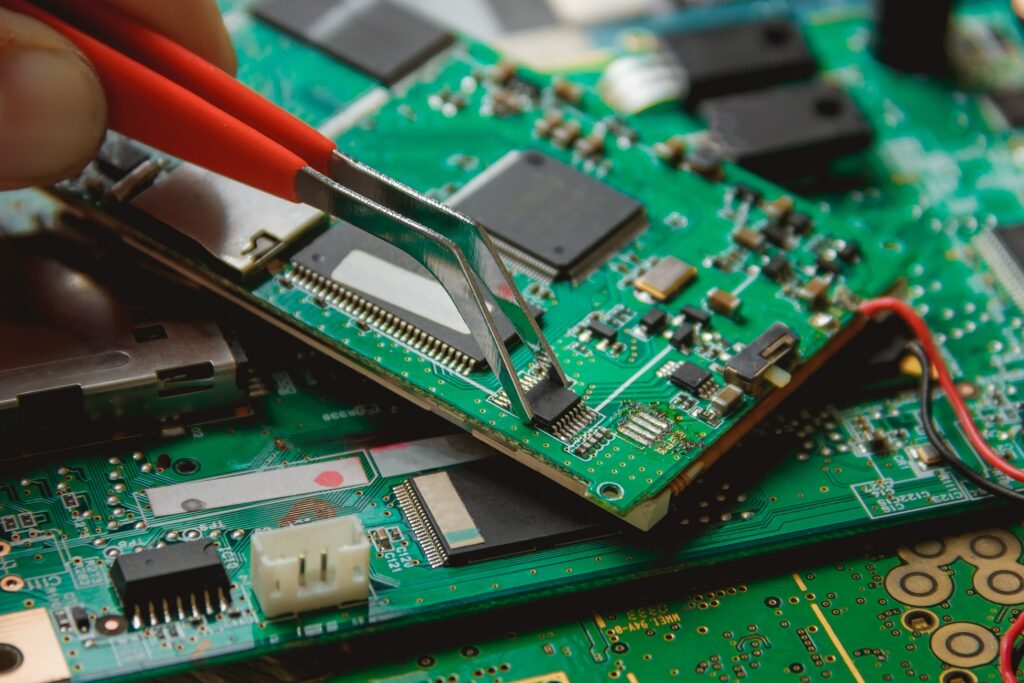
- The first step in cleaning a PCB is disassembling the equipment using a screwdriver. You can photograph the parts of the PCB before unscrewing so that you would know how to assemble them back. You also have to exercise caution to prevent damaging the connecting cables.
- After disassembling the PCB parts, the next step is to spray or apply a cleaning solution on the surface of the circuit board. Depending on the solution you use, you can wait a few minutes before proceeding to the next step or start cleaning immediately after applying the solution.
- The next step involves using the PCB cleaning brushes to scrub off the dirt on parts of the circuit board gently.
- After cleaning for a significant amount of time, you can rinse off the PCB using distilled water. You can also wipe off the cleaning solution residue from the surface of the circuit board if it doesn’t require rinsing.
- After rinsing, dry the PCB using compressed air equipment. Ensure that the PCB is completely dry as water droplet remains can affect the board’s functionality.
Contact ACS for PCB Repair Services
If you require PCB repair services, you can work with ACS for fast and effective services. We offer evaluations and quotations at no obligation. We even clean electronics for you which is much safer and easier! Call our customer service team to find out more! ACS can solve all your electronic equipment repair needs.
For more information, visit our website and click on the “Contact Us” button on the upper right or call 800-605-6419 and speak to someone on our customer support team.